When looking at the various real estate and home design shows that are popular today, I often hear the hosts denigrate ceiling fans when initially touring a property and remove them during the renovation process. I’m always amazed by this! There are some days, particularly during the early summer months, when it’s almost hot enough for air conditioning, but not quite. It’s on days like this that being able to turn on my ceiling fan has saved me innumerable dollars off my electricity bill.
While the latest ceiling fans are sleek and sexy, I inherited a relic. So, while I appreciate its function, its form was in dire need of improvement. Take a look at these simple steps that will take a ceiling fan from drab to fab.
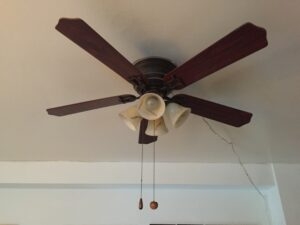
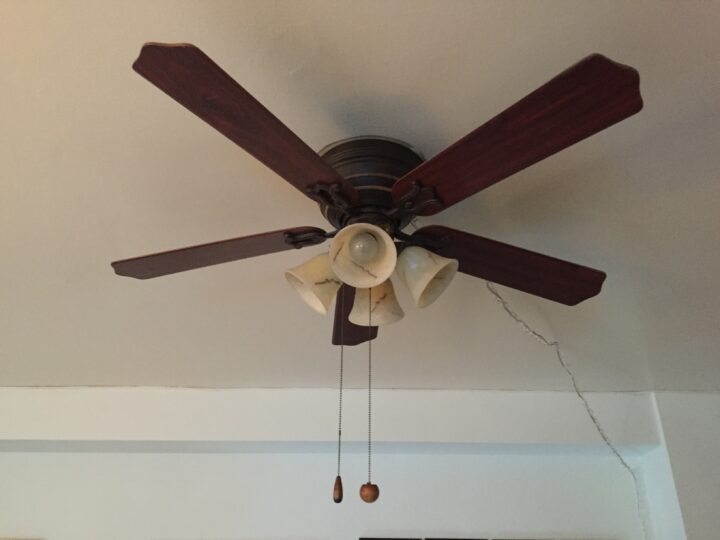
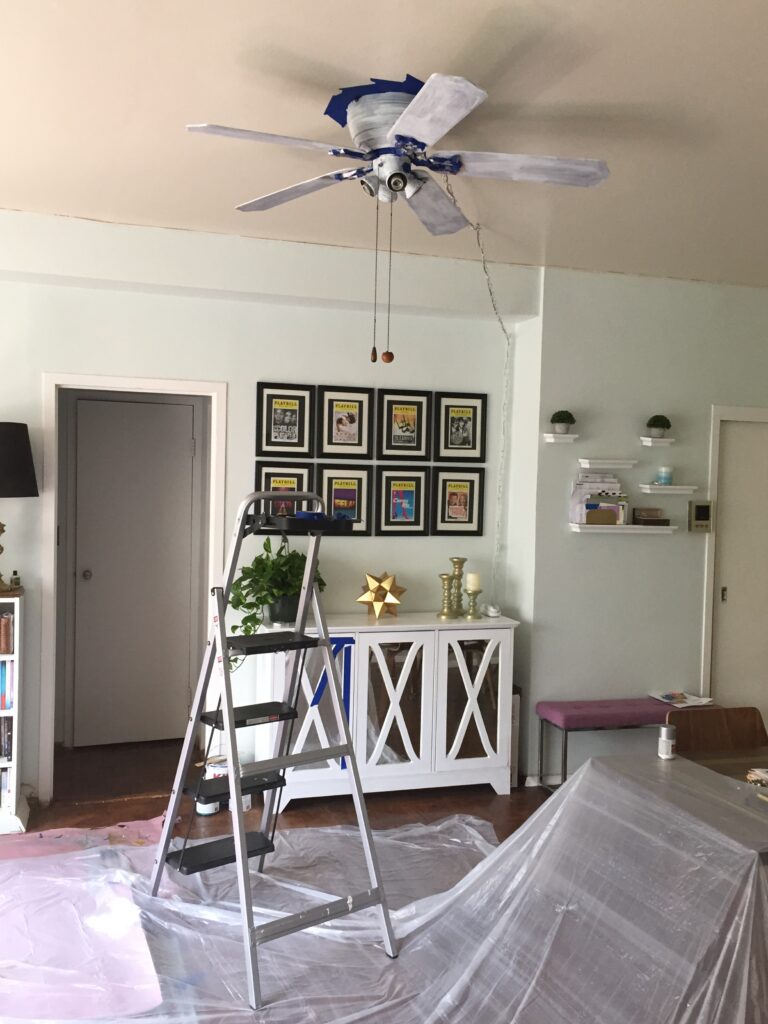
As you can see, the ceiling fan was dark and dated. My first step was to remove the bulbs and bulb encasings (“fitter glass” is the technical term). I boxed the fitter glass and stored in the event I need it in the future. Next, I covered all of the fan parts with Kilz2 Water-Based Interior/Exterior Primer. Because I planned to use two colors, I decided to paint the smaller details first. I covered the sections of the fan near these details to prevent too much overspray and then painted them using Krylon metallic spray paint in Chrome.
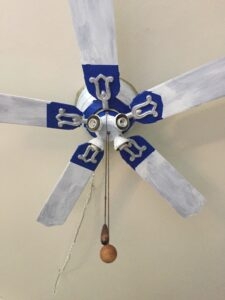
Once the details were painted to my liking, I let them dry and then covered them with painter’s tape in preparation for painting the majority of the fan gold. I also taped the ceiling to protect it from too much overspray, and I covered my floors and dining room floor with plastic.
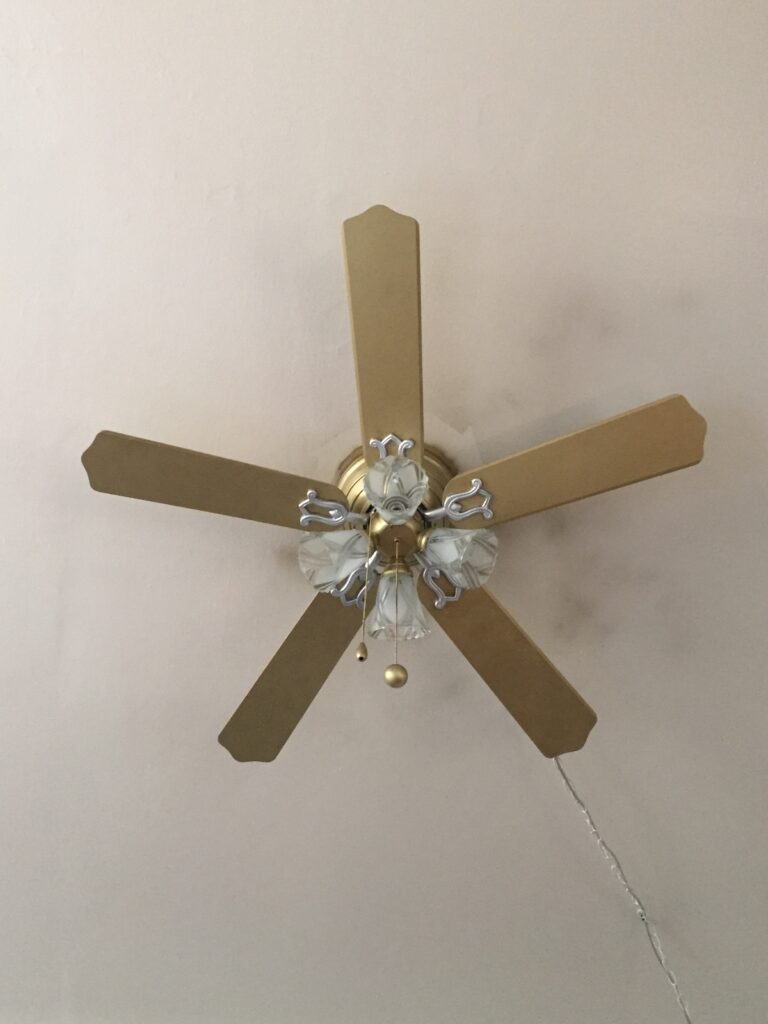
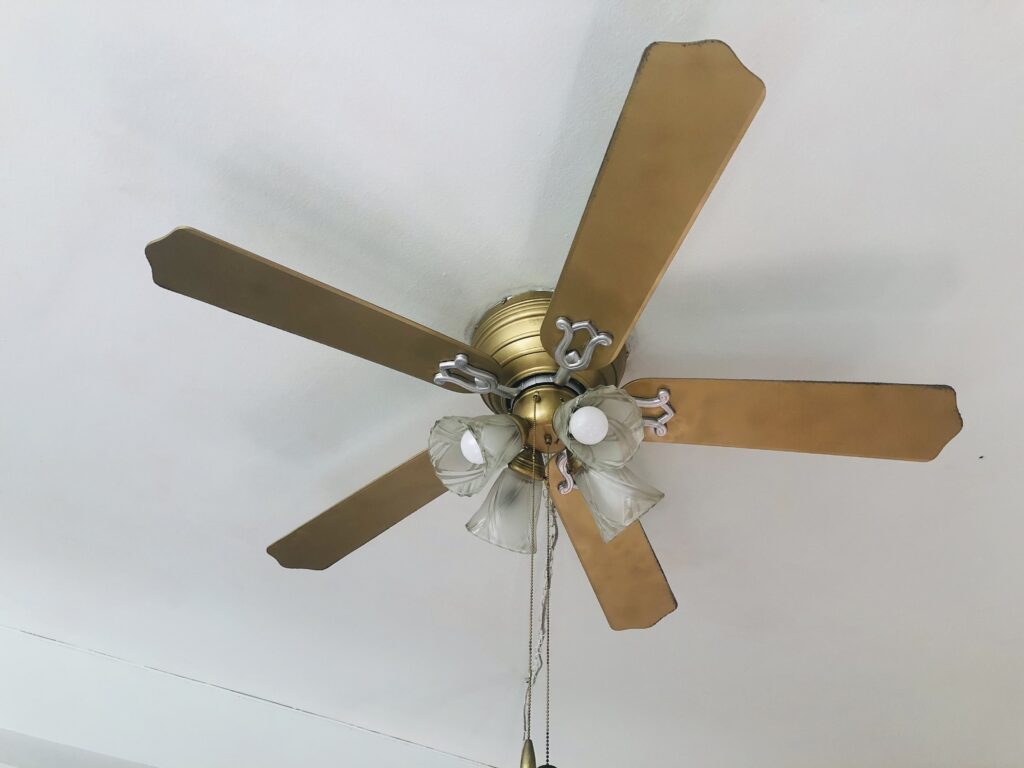
I used Rust-Oleum metallic spray paint in Gold Rush for the majority of the fan, and completed two coats.
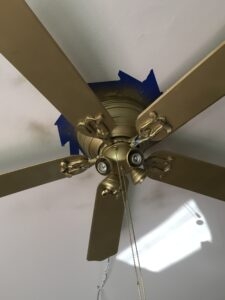
Finally, I replaced the original fitter glass with updates purchased from Build.com. When paint I painted my ceiling light blue to match my walls, the overspray was covered!
What pandemic projects have you recently completed?

Loris
This looks good. Great project for when a ceiling fan is needed but money is short.